How to Run an Interactive ESXi Install from a USB Drive
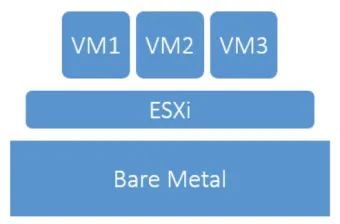
If you need to run virtual machines on a physical server, you need to install hypervisor software first. When it comes to VMware vSphere, a building block for the virtual infrastructure is ESXi. VMware ESXi is a bare metal hypervisor that makes virtualization of the physical hardware possible in a VMware vSphere ecosystem.
Read this blog post to learn about interactive VMware ESXi server installation basics. We will take a look at how to install ESXi 6.0 interactively, including considerations for physical hardware, hardware compatibility, and media creation.

ESXi Hypervisor Installation Options
As far as the ESXi server installation is concerned, there are four methods that can be used to install the ESXi hypervisor:
- Interactive installation
- Scripted ESXi installation
- Auto Deploy ESXi installation
- Custom installation with the ESXi Image Builder CLI
There are various use cases for all of the above installation methods. However, we cover the interactive installation of ESXi since it’s going to be the preferred option for most deployments. As you would imagine, the interactive method of installation uses mountable media on physical hardware and then provides the prompts to make decisions along the way to install the hypervisor.
Let’s find out how to install ESXi server step by step.
1. Check Hardware Compatibility
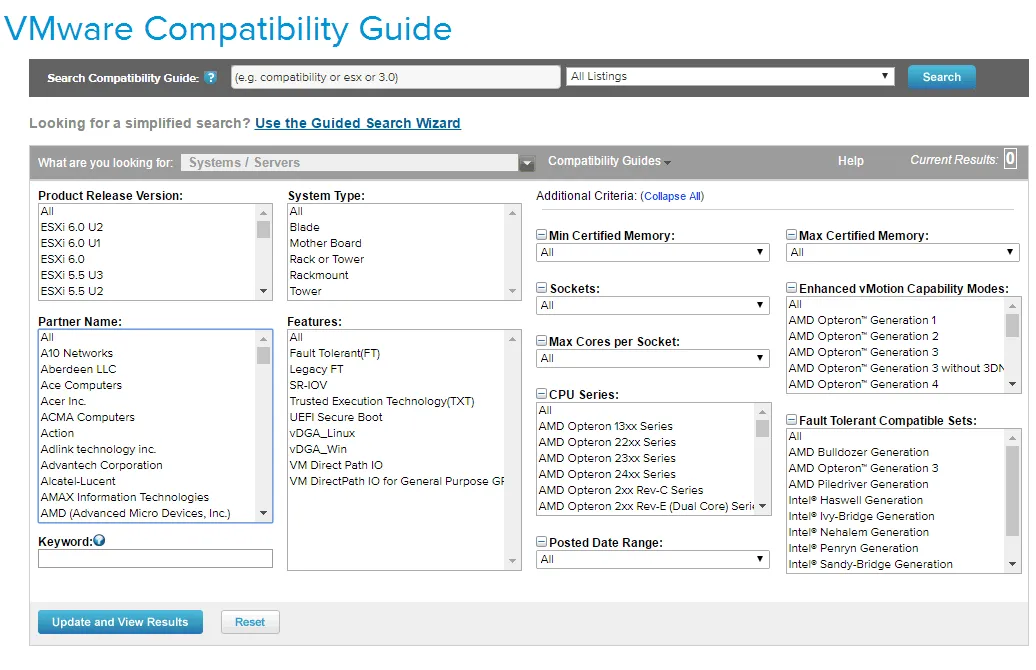
When thinking about ESXi installation, you should ensure that the hardware is listed on VMware’s Hardware Compatibility List or HCL. VMware provides a convenient web-based search tool that allows you to search for compatibility at both the system and component level to check if certain hardware is supported with an ESXi release. If you have any doubts about system compatibility, check VMware’s HCL.
2. Get the Correct Media
To successfully install ESXi with minimal issues along the way, you need to get the correct installation media. Most big box vendors, such as Dell or Hewlett-Packard (HP), offer customized ISO images. These images contain all the hardware-specific drivers for the particular hardware server to function correctly with ESXi. If you don’t have one of those at hand, there are a couple of ways to obtain customized images.
You can visit the hardware vendor’s website directly and download their customized ISO for ESXi if available, or you can download many of these from the VMware website (you need a VMware account in this case):
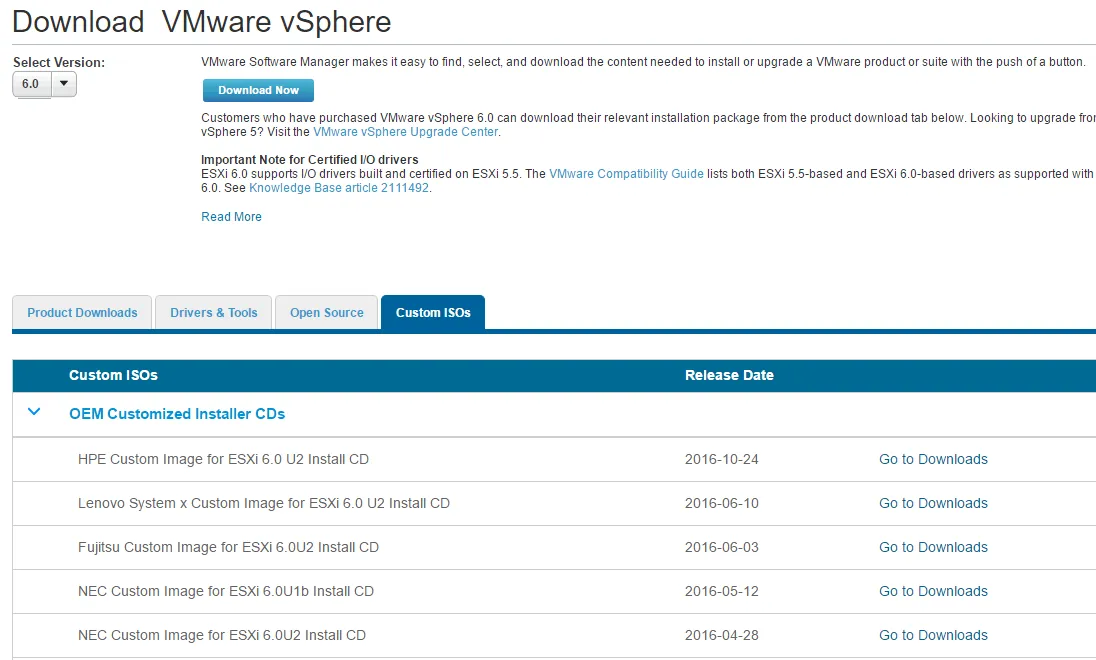
- Go to Downloads > Product Downloads, and click vSphere on the VMware website.
- Under Download VMware vSphere, select the version and Custom ISOs. Here you should see the listing of OEM Customized Installer CDs.
- Download the needed ESXi server installation image.
After downloading the ISO file, you can use this image to either burn to a CD/DVD or create a bootable USB stick.
3. Create a Bootable USB Installation Disk
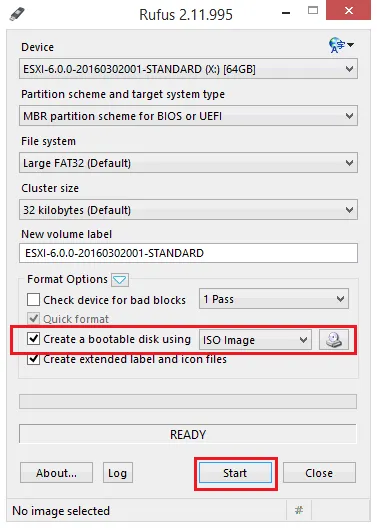
One of the easiest and quickest ways to install ESXi is from a USB disk. To quickly create a bootable USB disk, you can use a utility called Rufus (there are other tools available that you can use). This utility allows you to locate an ISO image and creating a bootable USB disk from this image. Once you run the executable:
- Insert the USB Flash drive into a USB port of your server.
- Start Rufus.
- Select a USB drive from the Device menu.
- Select the Create a bootable disk using option and select ISO Image.
- Click the button next to ISO Image to choose the actual ISO file on your computer.
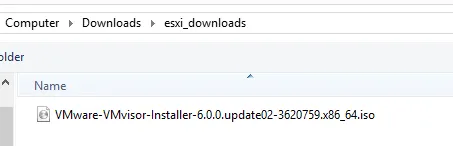
- Now you can browse to find the ISO file:
- Click the Start button to begin the process. The notification message about erasing existing data on the USB flash drive is displayed. Click OK to confirm and allow Rufus to start writing the ISO image to the USB drive.
4. Interactive VMware ESXi Server Installation
Now that you have created a bootable installation media, let’s move forward with the interactive ESXi server installation.
- Insert a bootable USB flash drive into the physical server on which you want to install ESXi.
- Power on the server and boot from the USB installation media.
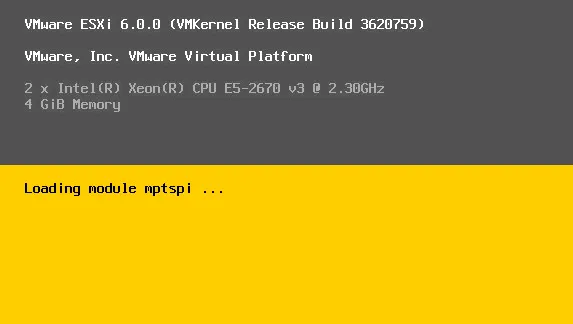
- After booting from the installation media (ISO, USB flash drive or CD/DVD), you should see the installer boot menu. Choose the ESXi standard installer or let the timeout select this for you.
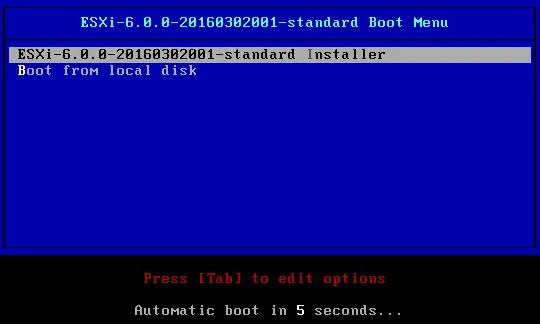
- The ESXi boot installation environment is loaded up and then you can proceed.
- When presented with the Welcome screen, press Enter to continue.

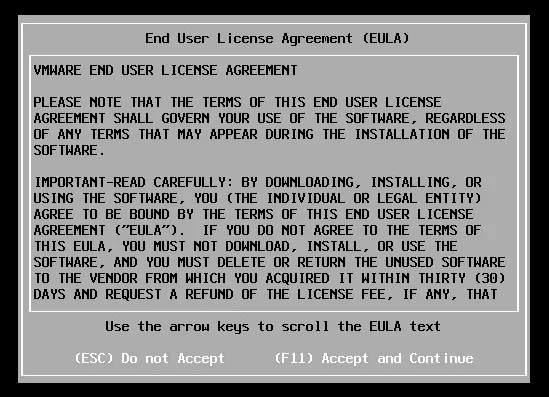
- Accept the End User License Agreement (EULA) by pressing F11.
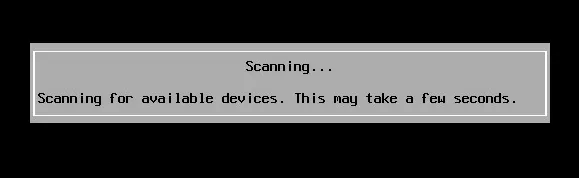
- The ESXi installation setup is scanning available target devices (disk drives) to install ESXi.
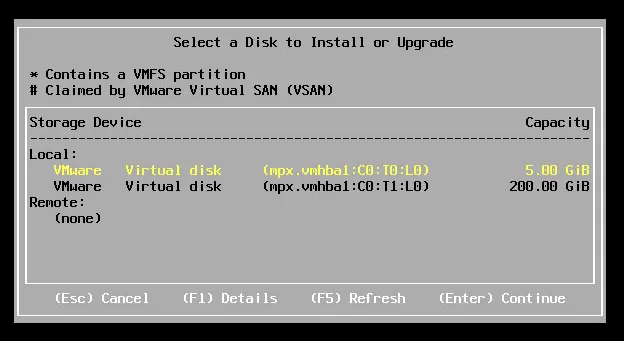
- You can choose from the available disks that are considered available by the installer. On the screenshot below, you can see two virtual disks displayed when installing ESXi on a virtual machine for demo purposes. Hit Enter to continue.
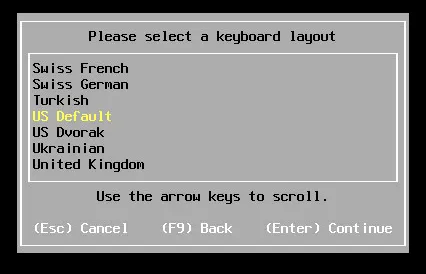
- Next, choose the installation language. We select US Default (English).
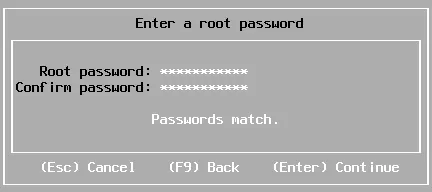
- Type the root password for the ESXi host and confirm this password.
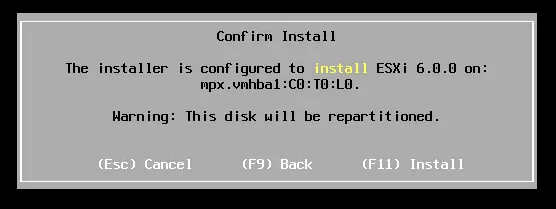
- The installer displays a message to confirm the installation. You can see the drive used to install ESXi, as well as the warning about the drive being repartitioned. After confirming, hit F11.
- VMware ESXi server installation has started.

- Installation of ESXi doesn’t take long as it is a minimal installation to get the hypervisor on the hardware. After installation has been completed, you will see the confirmation screen asking you to remove the installation media and reboot.
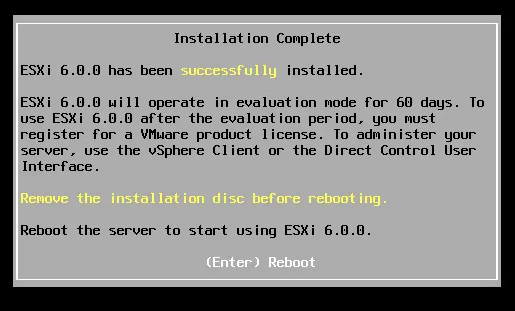
- Press Enter to reboot the server.
After you reboot the server, the ESXi server installation process onto your physical hardware is completed. In the next part of the series, we take a look at the initial ESXi configuration from the Direct Console User Interface (DCUI).
Conclusion
Now you know how to install VMware ESXi from USB drives. Once you have installed ESXi on a server, you can create virtual machines. Don’t forget to protect your VMs and back up the VM data. Download the Free Edition of NAKIVO Backup & Replication, a comprehensive solution for protecting your VMware environments, and get access to advanced VM data protection and recovery.